


Small acts of creativity with paper feed your soul. These glories are so easy that my nephew's school makes them with the eight year olds. If you have a group of people, grab plenty of scissors and staplers and make them together, putting your "petals" together to make the finished star. You can also use print-outs from your work in progress for the paper and decorate your writing space with stars of your own writing. (In that case, make squares from the middle of the page, to leave out the margins.)

Gather your tools. 8 sheets of paper, cut into squares. Eyes on stapler are optional.

Fold the first piece of paper into a triangle, once...

... and fold it again, in a smaller triangle.

This bit's important. Hold it with the long side vertical & the open points at the bottom.

Make 3 vertical cuts, one up the middle & one parallel on each side.

Unfold your cut piece of paper.
Now at this point, I made it awkward for myself and started with the outside strips. It's a bit easier if you start with the inside bits first, and work your way outwards. I echo all teachers everywhere: do as I say, not as I do! So look at the next four pics then do them in the opposite order to me.

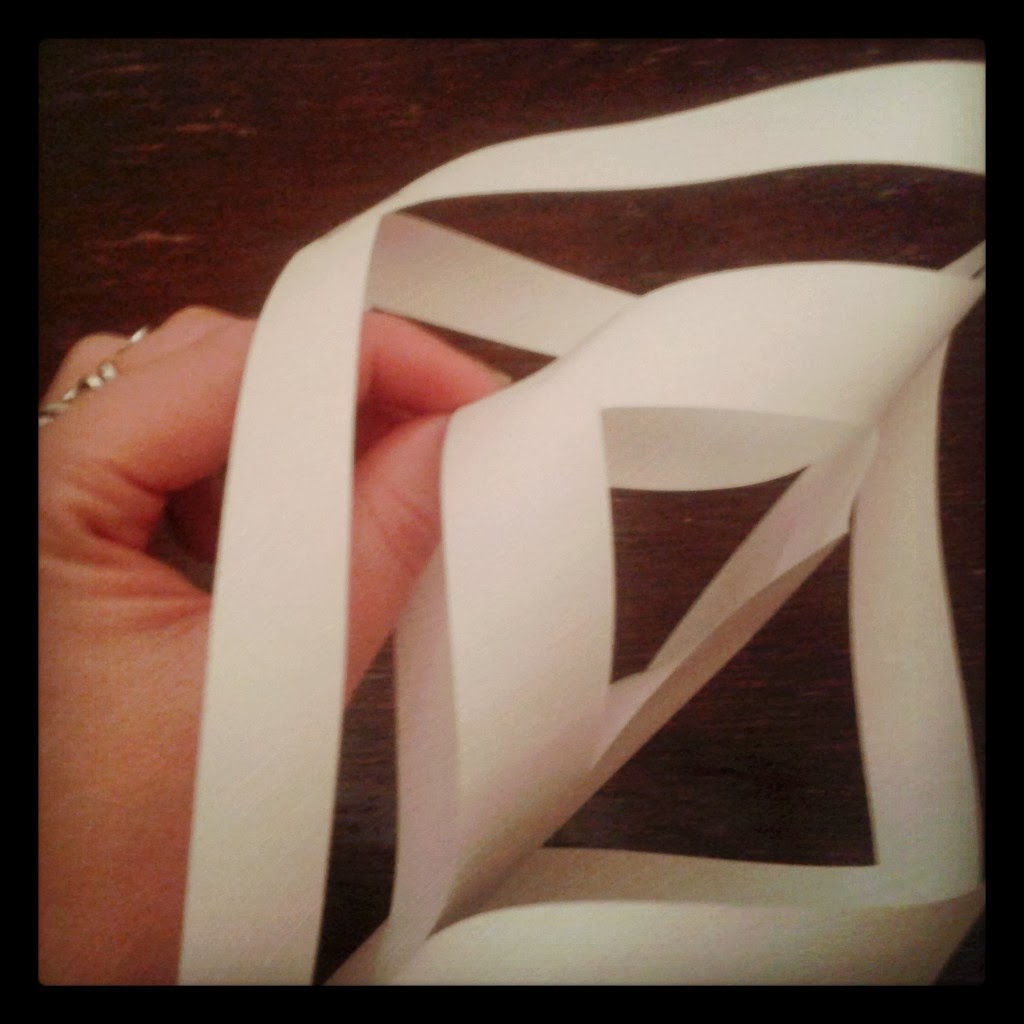
Fold the outside two strips to meet each other and sellotape the tips together.

Turn it over and fold the next two strips together and sellotape.
Turn it over again and do the same to the next two strips.

Repeat it with the last two triangle strips.

You have your first petal! Now make 7 more the same (Or get other people to join in)

You now have 8 petals, each one a thing of beauty. Now... RELEASE THE STAPLER!

Put four petals together, matching long sides to shorter sides. Staple the four ends together.

Staple the other four together as well.

Staple the two halves together.

Where each of the petals touch, join them with sellotape. (Roll a strip back on itself or use double-sided tape.)
YOUR FINISHED STAR
(Well, my finished star. Obviously. But you can always send me a picture of yours.)